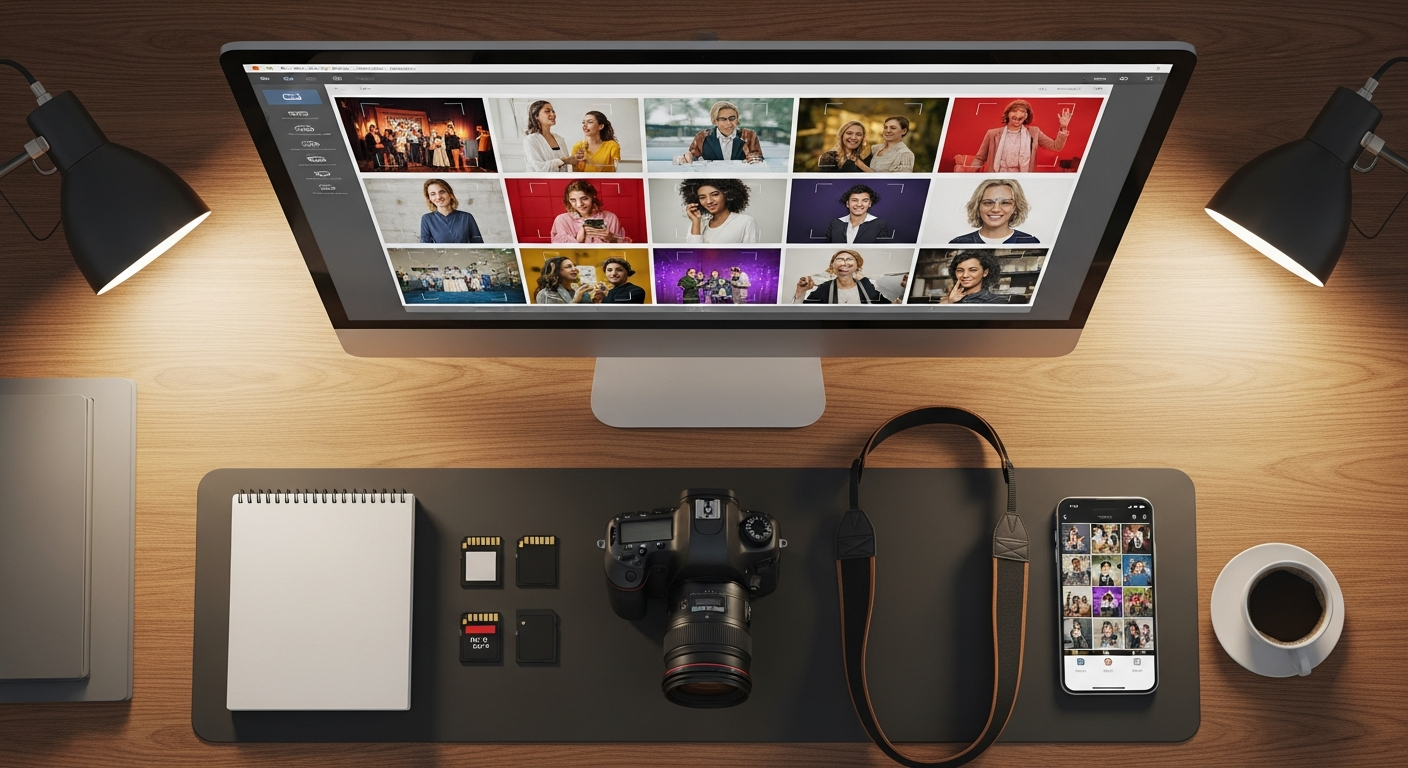
This post is for working event photographers. Not the influencer crowd. The ones who pulled an all nighter shooting a half marathon last weekend, came home with twelve thousand frames on a CFexpress card, and now have to figure out how to turn that pile into actual money before the next gig on Saturday.
I shot my first paid event in 2017 (a college spring formal, for the dazzling sum of two hundred dollars), and I have been around enough event photographers since then to know the gap between making good photos and selling them is bigger than people admit. Plenty of brilliant shooters never crack four figures a month from event work. The ones who do are usually not the most talented. They are the most operationally boring.
So here is the playbook. Pricing, turnaround, watermarks, the math on prints versus digitals, and a section on how to actually shoot in a way that lets modern face matching do the selling for you.
The pricing conversation
You are probably underpricing. Almost everyone is. The instinct is to look at the giant gallery you are about to deliver and price each photo at two dollars because it feels fair given the volume. The result is that you sell forty photos at two dollars across an entire event and call it a day.
Single photos belong in the four to six dollar range
For a digital download of a single high resolution photo from a public event (festival, race, brand activation), four to six dollars is the band that converts well without leaving money on the table. Below three, buyers undervalue what they are getting and the unit economics stop working once you factor in storage, processing time, and the cut Stripe takes. Above eight, conversion drops fast unless the photographer is already a known brand.
Bundles drive the actual revenue
Most attendees do not buy one photo. They buy "the good ones," which is usually four to twelve photos. A bundle structure that gives ten percent off at five photos and twenty percent off at ten photos hits a sweet spot. It nudges the buyer past the single purchase into the basket purchase, and the average order value roughly doubles. On InItPic this is the default cart behavior, so you do not need to manage it manually.
Set a low free preview, not a free full file
Watermarked previews are fine. Tiny watermarked thumbnails are better. Full resolution previews of any kind, even watermarked, give buyers a reason to skip the purchase. The math is simple. If a buyer can screenshot a watermarked file and crop the watermark out by zooming, they will. Keep your free preview small enough that it is genuinely usable for "verifying it is me" but not large enough to print or post.
"You are probably underpricing. Almost everyone is. The instinct is to look at the giant gallery and price each photo at two dollars because it feels fair. The result is forty photos sold across an entire event."
Turnaround is the second most important variable
The first is whether the photo is good. The second is how fast it goes live. After about forty eight hours, the urgency to buy event photos drops by more than half. People move on. Their FOMO from the event fades. They forget they wanted that one photo of them on the dance floor at 2am.
Same day delivery is a real revenue lever
For events under five thousand frames, getting the gallery up the same night the event ends roughly doubles your sales versus posting it forty eight hours later. The buyer is still in the high. They are still on a group chat with their friends. They will buy in the rideshare home.
Cull aggressively, edit lightly
Your buyer cares about being in the photo. They do not care that you brought the highlights down half a stop. Cull tight (one to three keepers per moment, not nine), apply a global preset, batch export. If you are spending thirty seconds per photo on edit, you are working against your own hourly rate. Save the heavy retouching for the print purchases that come in afterwards, where the customer has paid for it.
Prints versus digitals, the actual math
Digitals are easy money but the ceiling is lower per buyer. Prints unlock a much higher average order value, but only if you make ordering them stupid easy.
Digital margin is around eighty five percent
On a five dollar download, after the platform fee and the payment processor cut, you net somewhere around three eighty. There is no fulfillment cost beyond storage. Volume is the only lever.
Print margin is lower in percent, higher in dollars
A sixteen by twenty inch canvas might fulfill at twenty two dollars and sell at fifty five dollars. Your net after fulfillment and processing is around twenty five dollars on a single canvas. That is the equivalent of seven digital downloads, from one purchase, with zero extra work on your part if you are using a print on demand integration.
The trick is putting prints in front of every buyer
The single biggest lift in print revenue comes from showing the print options on the same screen where the buyer is looking at their photo. Not on a separate page. Not in a follow up email. On the photo detail screen, right next to the digital download button. InItPic does this by default through Printify mockups generated for each photo, so the buyer sees their actual photo on a canvas, on a t shirt, on a phone case, before they decide what to spend.
Why galleries that require name search underperform
For a long time, the standard delivery was "search by your bib number" or "search by your name." That works for races where everyone wears a bib. It does not work for festivals or weddings. The friction kills conversion.
Self serve selfie matching outperforms by a wide margin
Across the events on InItPic, selfie based galleries see roughly three times the buyer conversion of name based galleries. The reason is simple. The buyer goes from arrival to "show me my photos" in about ten seconds. There is no typing. There is no remembering a number. There is no scrolling. The selfie does the work.
What this means for you as the shooter
You do not need to tag, label, or organize anything by attendee. You upload, the system indexes faces during processing, and the next time someone takes a selfie, they get every photo of themselves automatically. Your job ends at upload. The matching is on the platform.
How to shoot so face matching actually works
This is the part most photographers get wrong, and it is fixable in a single shoot.
Get clean front facing frames
Modern face matchers (we use AWS Rekognition, the same tech behind a lot of large scale photo systems) want at least one frame per person where the face is roughly turned toward the camera. You do not need a portrait. You just need the geometry to be visible. If you spend a whole event shooting from behind the crowd, you will index almost no faces.
Practical fix: every twenty minutes, walk to the front of whatever the action is and turn around. Shoot the crowd looking at the stage from over the performer's shoulder. Five minutes of that produces hundreds of front facing faces. Those frames pull double duty as your widest moments and as the index source for matching.
Use a moderate focal length when you can
Wide shots at sixteen millimeters are great for atmosphere but the faces are too small for reliable indexing. Pair them with a fifty or eighty five at portrait distance. On a Sony A7 IV with the eighty five 1.8, faces fill enough of the frame to give matching plenty to work with even after a slight crop. On a 24 to 70, sit at the long end when shooting groups.
Light matters, but less than you think
Face matching is robust to most lighting. The thing that genuinely hurts it is harsh side light that turns half the face into shadow. If you are shooting a sunset set at Coachella and everyone is rim lit from behind, your faces will be dark. A small fill flash dialed two stops down brings them back. Even a phone screen held in front of someone for a posed shot can work in a pinch.
Hats, sunglasses, masks
Hats and clear sunglasses are usually fine. Mirrored sunglasses degrade scores noticeably. Full face masks defeat matching entirely (which is sometimes what attendees want, which is also fine). For events where you know costumes are involved, lean on outfit matching as a backup, and shoot more groups so attendees can pick themselves out by context.
A quick checklist before your next event
- Pricing live and bundle thresholds set (digital singles four to six dollars, ten percent off at five, twenty percent off at ten).
- Print products synced and mockups enabled so every photo shows print options.
- Same day upload plan in place. If the event ends at midnight, plan to upload by 6am at the latest.
- Two camera bodies if possible. Even a backup like a used Sony A7 III is enough to keep you shooting if your primary fails.
- At least one front facing crowd pass scheduled per hour.
- Watermark on previews, originals never publicly accessible.
- Refund policy decided in advance (we recommend a no questions asked seven day window for digitals).
The thing nobody tells you
Most of your revenue from any given event will come from the long tail. Roughly forty percent of buyers find a gallery within seventy two hours, and the rest trickle in over the following four to six weeks as friends post photos and prompt searches. So the gallery you upload Sunday night will keep paying out into the following month, but only if the matching is good enough that the late arrivals still find themselves.
That is the long term case for using a system with persistent indexing rather than a temporary public Drive folder that disappears when you run out of space. Your next month of grocery money is hiding in the events you shot last month.
If you want a more conceptual breakdown of the technology underneath all this (what the face vector actually is, what gets stored, what gets deleted), the companion post is what facial recognition photo matching actually does (and does not do) at events. Worth a read so you can answer the inevitable client question with confidence. The legal version of the same answers, in case a client asks for the formal text, lives in our privacy policy.
If you have a larger event coming up (multi day festival, race series, conference) and want to talk through pricing, payouts, or a custom setup before you upload, you can reach the team through the contact page. Existing photographers who are already on the platform can log in here to get to the upload screen directly.
Set up your photographer account
Upload your next event in minutes. Indexing, watermarking, prints, and payouts are all built in.
Get started as a photographer